This weekend was my first full one with the new car. After much deliberation and consultation, it was decided that the car was a male, and should be named 'Patches'. After looking at the panel work, its pretty damn clear why ;) Anywhoo, I'm hoping to get him some registration this week, but there's quite a number of things I wanted to attend to before I would confidently take him out on the road.

First thing to attend to was wiring... Earlier in the week I sorted out the abomination that was the head unit (the wiring was messy as, and was insulated with freakin masking tape!!!). I also painted the centre console, tidied up some bits and pieces, etc etc... Anyways, the next thing to sort out was the boost gauge. It needed physical adjustment so I could see it better, as well as re-plugging in the illumination loom, so it could be seen at night. Picture above doesn't show much, but the general idea has been to tidy up the wiring, reconnect bits and pieces, and make sure connections are reliable.

Next thing to sort out? Rust and the cracked sunroof. First things first, pulling out all the roof lining so that I could get to it...

Here's the sunroof removed. Unfortunately there's rust forming in a few places, so a more permanent solution will need to be devised at some stage. All things considered though, this is only surface rust, nothing deep or properly set, so that's a bonus.

If you look at my previous post, you'll see what the rust looked like, and how it had been fixed previously... After removing the roof lining and the sunroof, the next step was to take the previously repaired paint and rust back to surface metal where possible. This was achieved using a wire brush on the end of a drill... seriously made mince meat of anything that got in its place ;)

Unfortunately, I did also find this... The rust has caused the roof to actually crack =\ This will need to be properly plated in the near future... Something this small is not a problem as is, but is obviously farrrrrr from ideal.

After exposing it all, its then converted the rust. This is achieved by literally painting on a liquid that reacts with the rust, eats out the worst of it, and binds with the rest to strengthen it and become steel again.

While the rust converter was drying, I took the opportunity to paint some more things... Interior bits and pieces, roof linings, door cards, all in the aim of giving the interior a bit of life again. Going for the subtle and clean look though, with black being the general theme.

After the rust converter dried, bog was applied to fill in all the holes created by the rust. Here is the end result after the bog being sanded back. The idea is to get the flattest possible finish.
While the door cards were off, I addressed the next issue: audio. Can't not have decent tunes whilst driving!! Found out that the front left speaker was straight up missing, the front right was mounted with rusted screws, and the bracket so sodden with water, that it didn't resemble anything anymore. Wish I got a picture actually, it was pretty damn pathetic.

In order to rectify this, I fabricated some new brackets out of MDF, using a template I found online.

This picture doesn't show how genuinely necessary the brackets are. The hole is so obscure, that no speaker bolts straight in. This bracket mounts to the 4 original mounting points, and provides the necessary mounting points to mount a 6.5" speaker.

See? =P

To get a decent base for the top coat on the roof, a primer was applied. The yellow stuff is a really thick primer, that is designed to fill in any holes that have been missed. It is then sanded again to get a smooth base, before applying the final top coat. Ideally you then put down a thinner primer to get a smoother finish, but that involved effort.

Here is said top coat!! Could've done with a bit more sanding, but black will not be the final colour. This was done simply to fix the rust and avoid attention on small things that can get you pinned... its already 100% better than what it was.
I also spent a full day on starting to sort out the mixed panel work. This involved sanding back all the various flares, skirts, pods and spats and painting them accordingly. Once again, this is only an interim job to make it stand out less until I get around to doing everything properly. Have a look at the 2 pictures below and you'll get an appreciation of what I'm shooting for...


While its still not 100%, its once again 100% better than what it was :) I also have rear spacers coming to fill out those hideously sunken rear wheels...
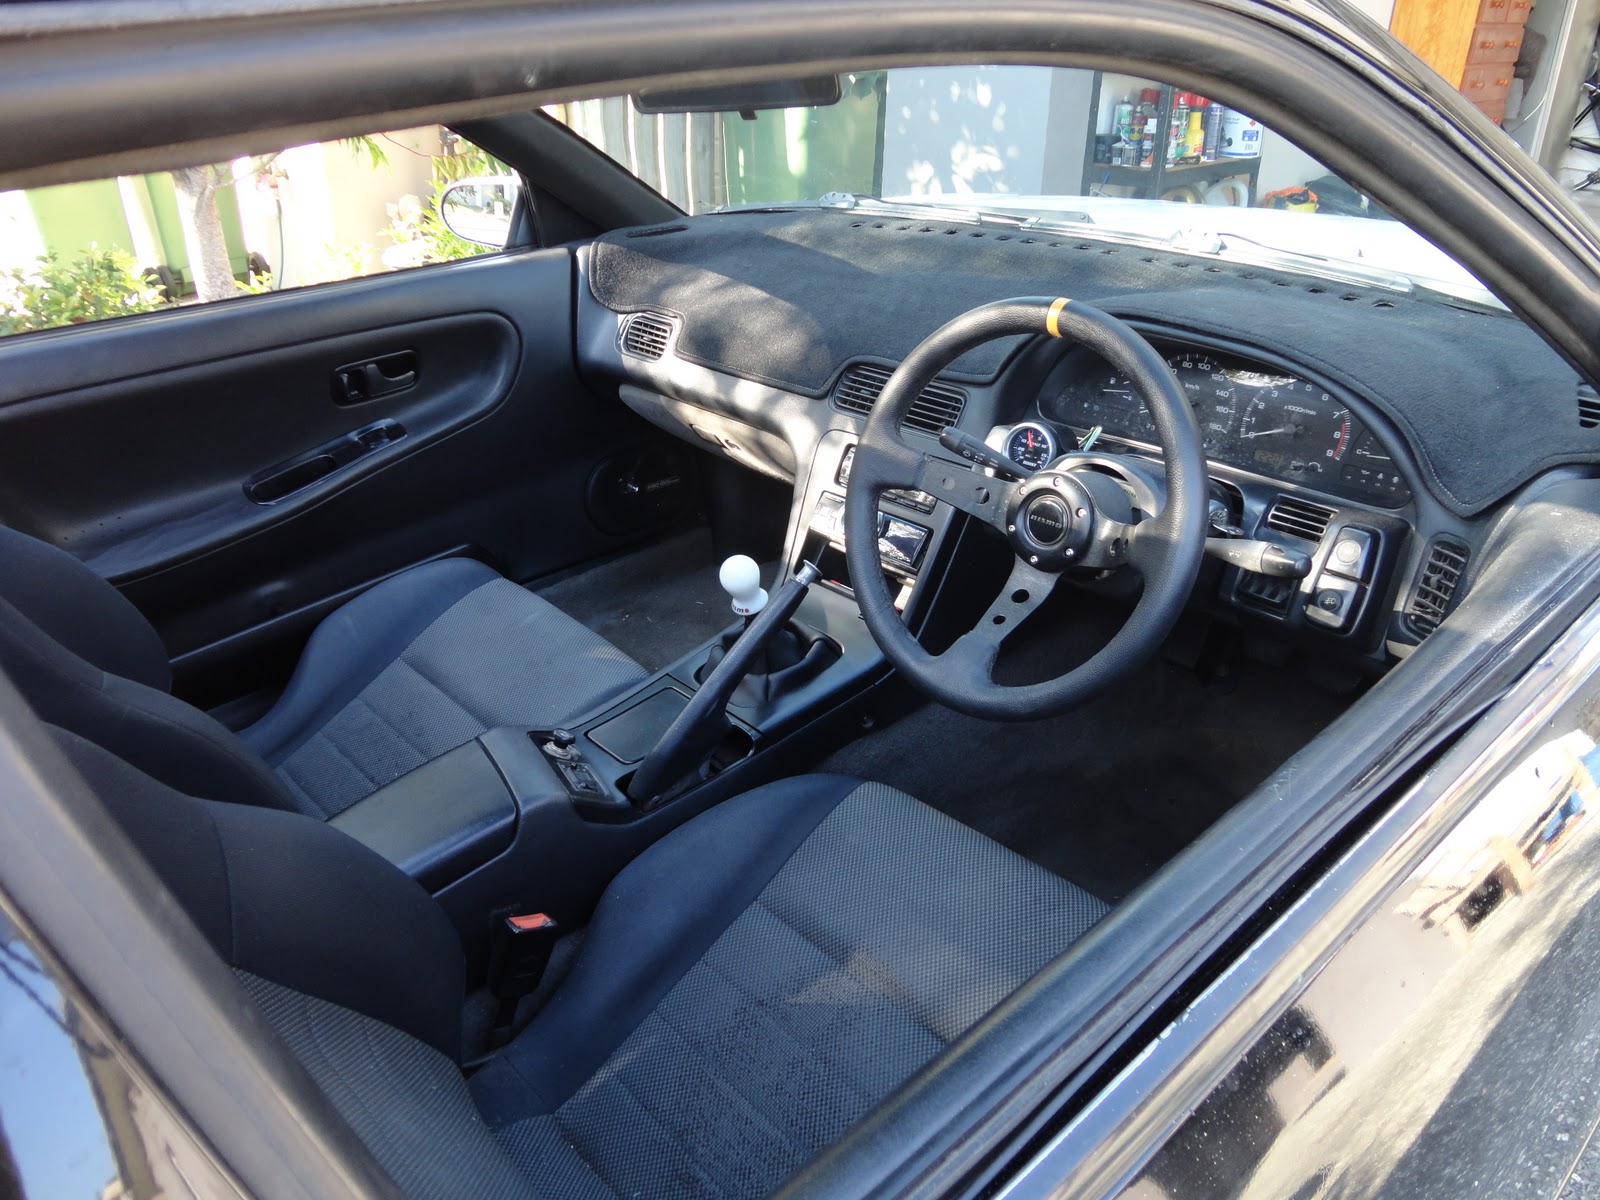
Here's a final shot of the interior too. A hell of a lot cleaner and a lot more presentable than what it used to be.
Laides and Gentleman, I present to you... Patches :)

No comments:
Post a Comment